Ready to install a new roof? This guide covers the roof installation process from start to finish. Learn how to remove old shingles, prepare the roof deck, install underlayment and shingles, and perform a final inspection.
Whether you are doing it yourself or supervising a professional crew, follow these steps for a successful installation.
Key Takeaways
- Proper roof installation involves several critical steps, including removing the old roof, inspecting and preparing the roof deck, and methodically installing the new roofing materials, such as underlayment, shingles, and flashing.
- Safety is paramount in roofing projects. Essential precautions include using proper safety gear, such as harnesses and hard hats, adhering to OSHA guidelines, and clearing debris to maintain a safe worksite.
- Hiring professional roofers, such as Xterior LLC, offers significant advantages. This includes expert handling of the installation process, efficient problem resolution, and maintaining roofing warranties, ensuring both time and cost savings.
Introduction
Roof installation, when executed correctly, not only protects your home from the elements but also significantly boosts its curb appeal. It is a substantial task that blends function and aesthetics.
Whether you are a homeowner with a penchant for DIY projects or someone keen on overseeing the professionals, grasping the roof installation process is fundamental. This guide unfolds the entire process, underscoring the importance of each step and providing you with essential tips and considerations from:
- Local regulations
- Choosing the right roofing materials
- Preparing the roof surface
- Installing the underlayment
- Laying the shingles
- Flashing and sealing
- Ventilation
- Final inspection of your new roof
By following these steps and considering these factors, you can ensure a successful roof installation that will protect your home for years to come.
While installing a new roof can be a viable DIY project under the right conditions, such as a simple roof design and familiarity with the tools and materials, it is generally not recommended due to the complexity and potential for costly mistakes.
Moreover, a new roof is a significant investment that can save money in the long term by preventing damage to your home. Before beginning this project, you should consider local building codes and permits, as well as the timing of the project, to create ideal conditions.
Understanding the Roof Installation Process
Undertaking a new roof installation project is a serious decision. It entails a series of critical steps that range from the initial removal of your old roof to the precise installation of the new roofing materials.
A multitude of factors come into play, such as selecting the right materials for your climate, understanding the best time for installation to avoid adverse weather conditions, and being aware of the potential hazards that come with such an undertaking.
The materials you choose for your roof must align with both your aesthetic preferences and functional requirements. Here are some options to consider:
- Asphalt shingles: a straightforward and popular choice, but may not be as durable as other materials.
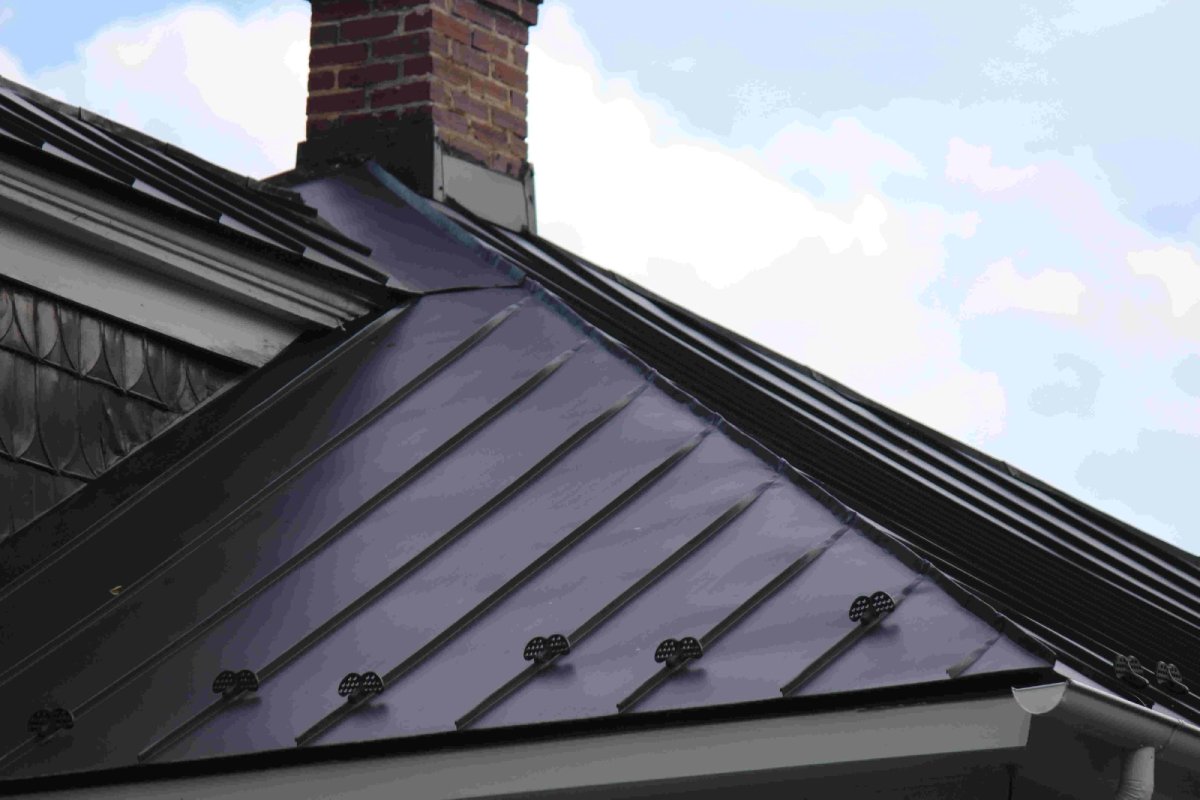
- Metal roofs: known for their longevity and durability.
- Wood: offers a natural and rustic look but requires more maintenance.
Each material has its own set of installation nuances and longevity expectations. Research and choose the material that best suits your needs.
Additionally, a critical aspect of the roofing process is considering the condition of your existing roof and whether a complete roof replacement or an overlay is necessary.
Safety Precautions Before Starting
Safety must be paramount before the first shingle is even contemplated. Roofing work is inherently risky, with steep slopes and heights introducing significant danger to the unprepared.
It’s not just about having the right tools; it’s about ensuring you and your team are equipped with the necessary safety gear and knowledge to avoid accidents.
Properly using a safety harness and understanding fall arrest systems are important safety precautions that can mean the difference between a successful project and a tragic mishap.
Essential Safety Gear
When it comes to roofing, your first line of defense is your safety gear. Donning the following items is not optional; it’s a fundamental aspect of any roofing project:
- Gloves: to safeguard your hands during the handling of rough materials.
- Harnesses: to ensure your safety throughout the project’s duration.
- Protective eyewear: to protect your eyes from any debris.
- Hard hat: for protection against falling objects.
Professional roofers come prepared with this equipment, including specialized fall arrest gear, to ensure their safety throughout the project’s duration.
Setting Up a Safe Worksite
Creating a safe and efficient worksite involves:
- Adhering to local building codes and securing the necessary permits before commencing work.
- Following the Occupational Safety and Health Administration (OSHA) guidelines for preventing falls.
- Utilizing guardrails or safety netting for an additional layer of protection against accidents.
- Ensuring ladders are stable.
- Regularly clearing debris to prevent injuries and streamline the installation process.
Removing the Old Roof
The journey to a new roof begins with the removal of the old. This initial step is as critical as it is laborious; a thorough tear-off sets the stage for the rest of the installation process. Starting from the top, roofers methodically remove ridge caps and the topmost shingles using specialized tools that facilitate efficient and safe removal.
It’s vital to completely remove the old waterproofing and underlayment to prevent any compromise to the integrity of the new roof layers.
Tools Needed for Tear-Off
With the right tools, the tear-off process becomes both safer and more effective. Tear-off forks and specially notched shovels are designed to detach shingles and pull out nails, significantly speeding up the process.
These tools help minimize damage to the roof deck, allowing for a smoother installation of the new roofing materials.
Handling Old Shingles and Debris
An integral part of any roofing project is the efficient disposal of old shingles and debris. Crew members must coordinate to move waste directly to the dumpster, ensuring the site remains clear and safe.
Maintaining the cleanliness and safety of the worksite requires responsible waste disposal, including recycling where possible.
Inspecting and Preparing the Roof Deck
After removing the old roof, the roof deck—the foundation for your new roof—becomes the center of attention. It’s imperative to start with a thorough inspection of the interior and exterior to identify any issues like sunlight penetration, water leaks, or signs of wood rot that could undermine the new roofing materials; it’s vital to address any detected weaknesses or damages.
A robust and reliable roof deck allows the new roofing to fulfill its protective duties effectively.
Repairing the Roof Deck
Sometimes, the damage to the roof deck requires more than a simple fix. Extensive repairs or even replacement may be necessary to address issues such as sagging decking or rot.
Removing damaged sections and replacing them with new material, like CDX plywood or OSB, is key to restoring the deck’s integrity.
This preparation makes the wood roof deck capable of supporting your new roofing material.
Installing New Roof Decking (If Needed)
In cases where repairs will not suffice, installing new roof decking is the next step. This involves fitting new decking material into place, ensuring it’s well-supported by rafters, and securely fastening it to provide a solid foundation for the new roof.
Installing Underlayment and Drip Edge
The underlayment and drip edge, fundamental elements of your roof’s structure, contribute to its durability and functionality. The underlayment acts as a moisture barrier, protecting the roof deck from water that may penetrate the shingles.
At the same time, the drip edge assists in directing water away from the fascia and the rest of the building structure.
Laying Down Roofing Felt Paper
Properly laying down roofing felt paper is a step that should not be overlooked. This paper serves as an additional moisture barrier, shedding water and protecting the roofing deck.
To ensure optimal performance, follow these steps to install the felt:
- Roll out the felt smooth.
- Temporarily secure the felt with a few nails.
- Fully attach the felt, with upper courses overlapping the lower ones to prevent water infiltration.
Installing the Drip Edge
The drip edge plays an equally important role in moisture management. It should be installed along the eaves before the underlayment and on the sides after the underlayment is down, ensuring proper water flow away from the roof deck and underlying structures,
Overlapping drip edge pieces by about six inches can provide comprehensive coverage and protection against water damage.
Installing the New Roofing Material
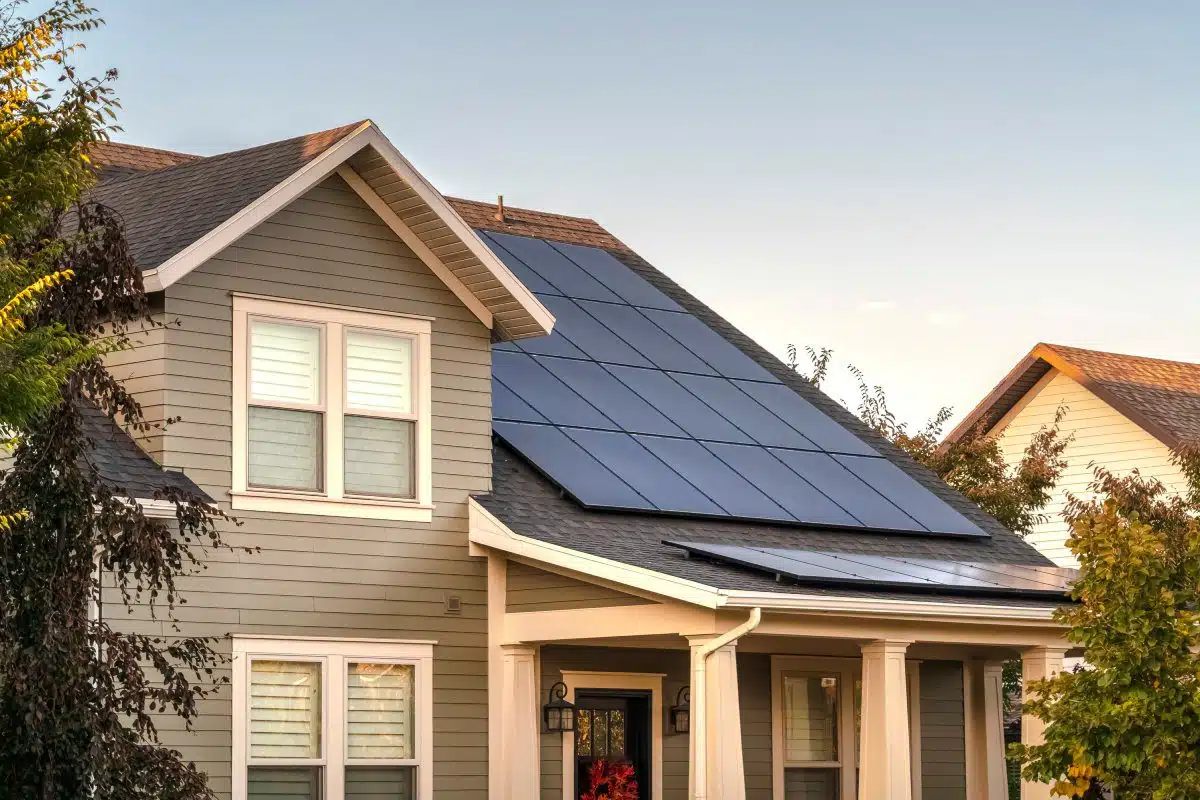
Choosing a new roofing material is a pivotal decision influencing the appearance and lifespan of your roof.
With a variety of options available, each homeowner can find the right fit for their home’s aesthetic and the climate of their region while replacing old roofing material. Some popular roofing materials include:
- Asphalt shingles
- Metal
- Wood shingles
- Clay tiles
Consider the pros and cons of each material before making your decision.
Applying Starter Shingles
Starter shingles are the unsung heroes of any shingle roofing system. Their correct placement is crucial for creating a watertight seal at the roof’s edge. Here are some important steps to follow when installing starter shingles:
- Align the starter shingles with the eaves’ drip edge.
- Position the starter shingles with the adhesive strip facing upward.
- Ensure the first row of regular shingles has a solid base to adhere to.
By following these steps, you can ensure your roof is properly protected from water damage.
Laying Down Shingles or Metal Panels
Correctly installing shingles or metal panels ensures your roof withstands the test of time. Here are some key steps to follow: When selecting materials, it’s important to consider the minimum slope requirements for metal roofs. A proper slope not only aids in water drainage but also enhances the overall durability of the roofing system. Adhering to these guidelines will help prevent issues like leaks and premature wear, ultimately prolonging the life of your investment.
- Lay the shingles from the eave up, following the manufacturer’s instructions.
- Pay attention to the nailing instructions provided by the manufacturer to ensure proper installation.
- Stagger the shingles to prevent leaks and ensure durability.
By following these steps, you can ensure a proper and long-lasting installation for your roof.
Sealing and Flashing
Sealing and flashing, fundamental to preventing leaks around joints and roof penetrations, mark the final step in the roofing process.
Properly applying flashing and sealant around vents, skylights, and chimneys ensures water is directed away from these vulnerable areas, preserving the roof’s integrity.
Final Inspection and Cleanup
After the final nail has been driven and the final shingle laid, the project is incomplete without a thorough final inspection and cleanup.
This critical step ensures the roof has been installed correctly, there are no defects or gaps, and all the exposed nails are properly secured. Additionally, it guarantees that the site is clean and safe.
Conducting a Final Roof Inspection
A thorough final roof inspection is indispensable for peace of mind. It involves checking every aspect of the roof’s exterior and interior, including gutters, downspouts, and the condition of the shingles, to ensure everything is properly secured and functioning as intended.
Cleaning Up the Worksite
Maintaining a clean worksite is of utmost importance.
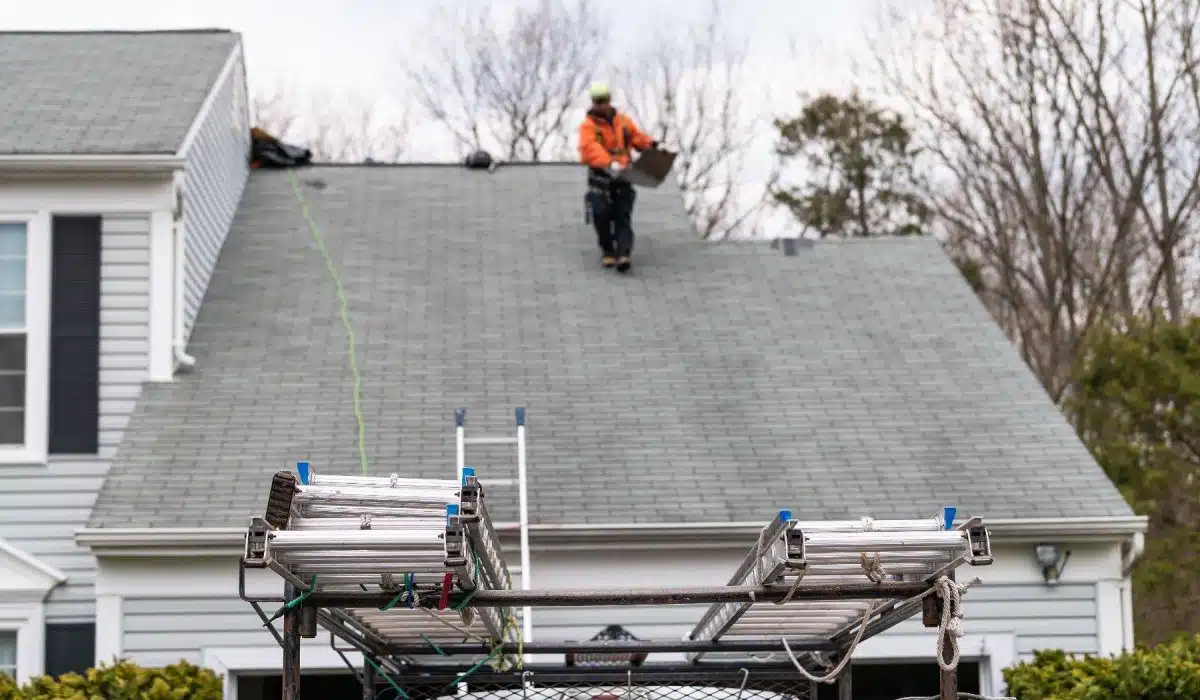
Professional roofing contractors take great care to remove all debris, including old shingles, nails, and other materials, using tools like high-powered blowers and magnetic sweepers to ensure the property is left in pristine condition, free of exposed nails.
Professional Assistance and When to Hire
After navigating through the numerous roof installation steps, homeowners often find that professional assistance is required despite their initial inclination to undertake the project themselves.
When faced with an old or significantly damaged roof or when it’s time for a new installation, the complexity and need for specialized knowledge, tools, and safety equipment simply make hiring professionals prudent.
Benefits of Hiring Professional Roofers
The expertise and efficiency of professional roofers can result in both time and cost savings for homeowners.
Hiring experienced professionals allows for quick identification and solution of roofing problems, management of the entire process, from material ordering to installation, and maintenance of roofing warranties.
These benefits can help ensure a smooth and successful roofing project.
Finding a Reliable Roofing Company
The safety of your home depends on the trustworthiness and quality of the roofing company you select. Here are some steps to ensure you choose the right contractor:
- Invest time in researching potential contractors.
- Verify their credentials and insurance.
- Scrutinize their track record through reviews and testimonials.
By following these steps, you can make an informed decision and ensure the safety of your home.
Xterior LLC, a preferred contractor for Owens Corning and a Google Guaranteed business, exemplifies the high standards you should look for, with an A+ rating with the BBB and a commitment to excellence that ensures your roof will be a lasting investment.
Serving both Wilmington and High Point, NC, Xterior LLC is dedicated to providing top-tier roofing solutions tailored to the unique needs of these regions.
Summary
As we wrap up, it’s clear that roof installation is a complex yet rewarding venture. From understanding the wide array of materials available and the importance of safety precautions to the intricacies of installation and the benefits of professional assistance, this guide has traversed the full spectrum of considerations for a successful roofing project.
With careful planning, adherence to local codes, and a commitment to quality, a new roof can provide both functional protection and aesthetic enhancement for your home.
In conclusion, whether you are a hands-on DIY enthusiast or a savvy homeowner overseeing a professional team, the key to a successful roofing project lies in a thorough understanding of the process, an unyielding commitment to safety, and an appreciation for the skill and expertise that professional roofers bring to the table.
Armed with the knowledge from this guide, you are now equipped to embark on your roofing journey with confidence and clarity.
Frequently Asked Questions
What are the best roofing materials for a home in a climate with extreme weather conditions?
For extreme weather conditions, consider metal roofs, specially treated asphalt shingles, and a self-stick underlayment for added water damage protection. These materials can withstand high winds and hail, providing greater durability for your home.
When is the best time of year to install a new roof?
The best time to install a new roof is during dry weather and moderate temperatures, typically early to late spring or early to mid-fall, to avoid the challenges brought by extreme weather conditions.
Can I install a new roof myself?
No, homeowners are generally not recommended to install a new roof due to the complexity, potential safety risks, and consequences of improper installation. Hiring a professional is best to ensure the job is done correctly and safely.
How do I know if my roof deck needs repairs or replacement?
Inspect the interior and exterior of your roof deck for signs of sunlight penetration, water leaks, mold, wood rot, and structural integrity. Repairs or replacement may be needed if you notice dark spots, a musty smell, or a weak or spongy deck.
What should I look for when hiring a professional roofing contractor?
When hiring a professional roofing contractor, look for proper licenses, insurance, and a solid reputation. For added assurance, check online reviews and confirm their status with organizations like the Better Business Bureau. Companies affiliated with reputable brands and Google Guaranteed, such as Xterior LLC, are often reliable choices.
Disclaimer:
The content in this blog is for informational purposes only and is intended to assist homeowners in understanding roofing, siding, windows, gutters, shutters, and general home improvements. Xterior LLC advises against attempting any of the tasks described here, as they require professional expertise. We do not assume liability for any injuries, damages, or losses resulting from DIY attempts. Always refer to the manufacturer of products for specific maintenance instructions.
By viewing this blog, you acknowledge and release Xterior LLC from any and all liability related to the use or misuse of the information provided.
Please note that Xterior LLC may not offer all the services discussed. Repairs, estimates, and inspections are priced based on availability, location, and time. All services, offerings, and prices are subject to change without notice.
For more information or to request services, please contact Xterior LLC directly.